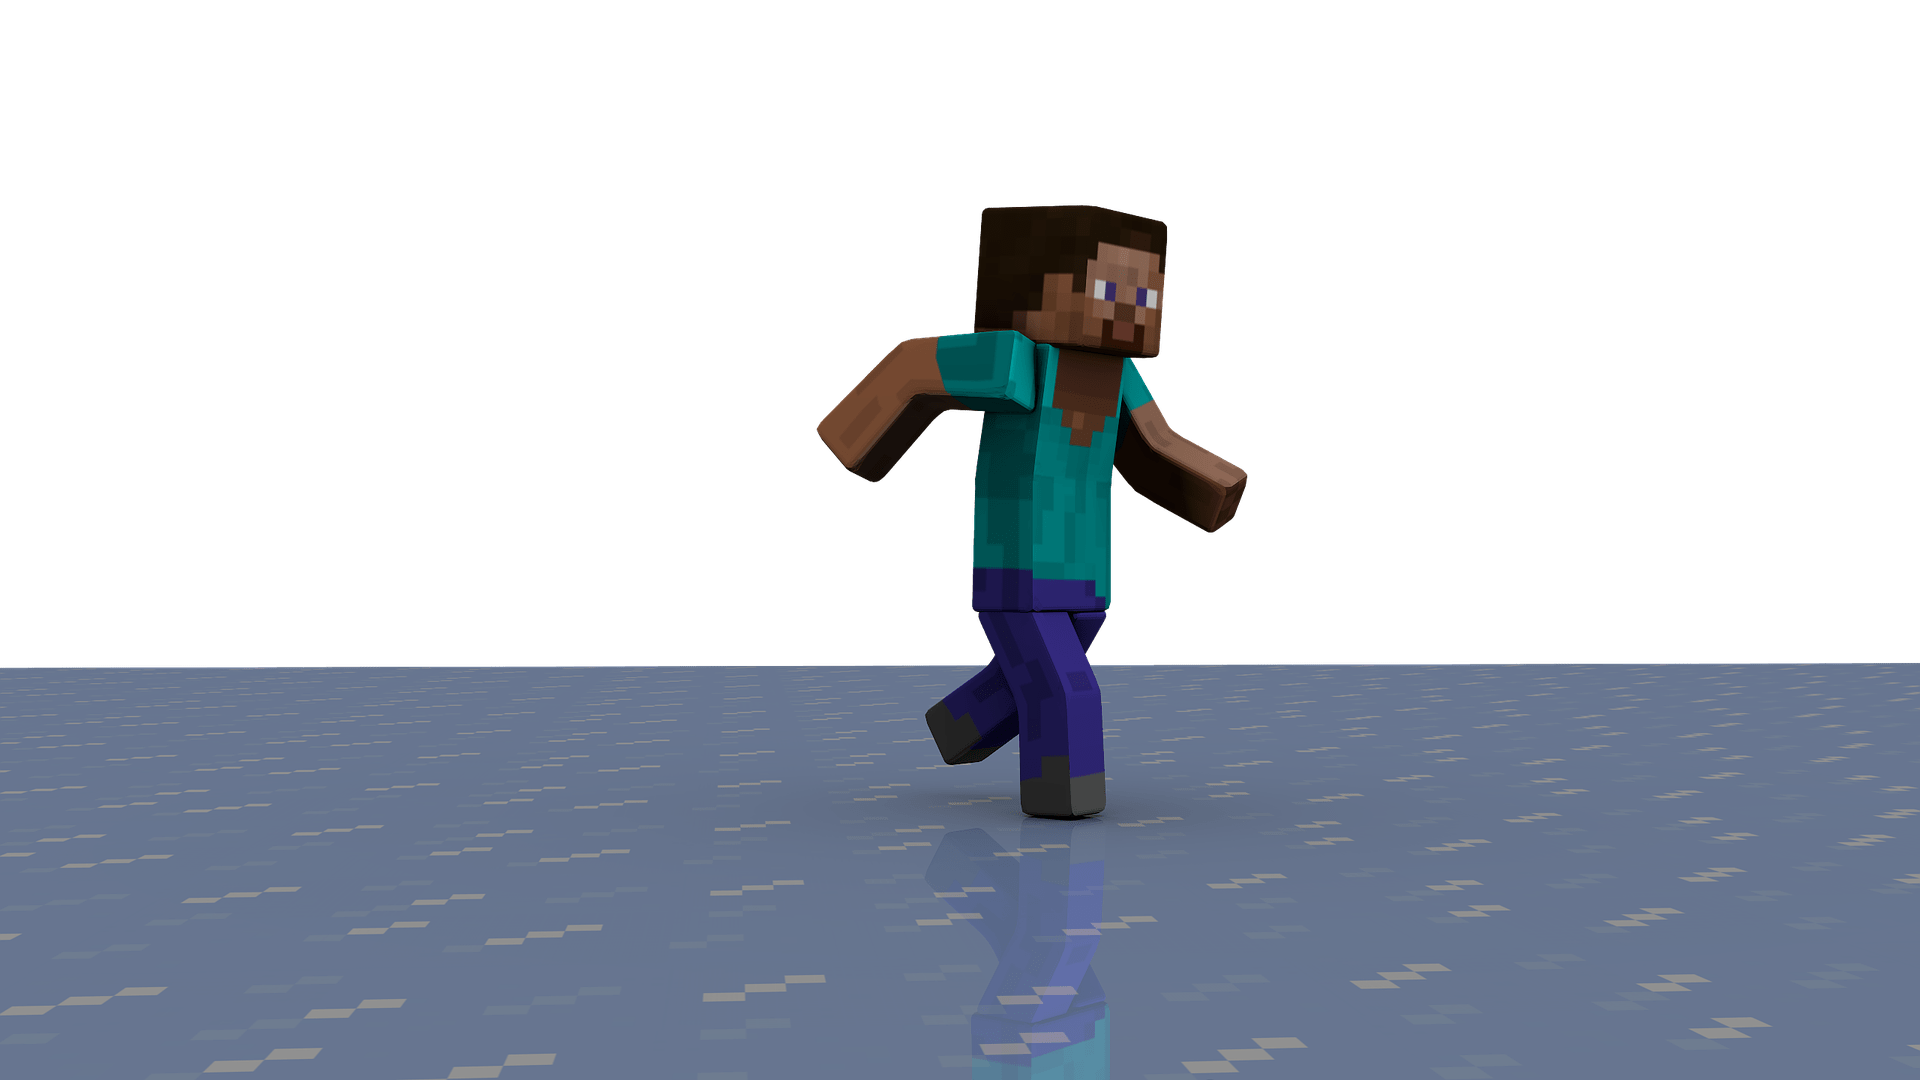
How To Shade Minecraft Skins?
In Minecraft, users may personalize their character’s look by designing and applying skins. Skins are pictures wrapped around the player model that allow players to customize the texture and color of their character. Nevertheless, shading may be used to make a skin seem more detailed and finished. We’ll go through how to shade Minecraft skins to make them seem more realistic and aesthetically attractive in this blog article.
Step 1: Choose a Skin
Before you can begin colouring your Minecraft skin, you must first select a skin to work with. You may download and use free Minecraft skins from a variety of sources, or you can make your own using a skin editor. The crucial thing is that the skin is in an editable format, such as a PNG file.
Step 2: Get Acquainted with Your Skin
Once you’ve obtained your skin, spend some time becoming acquainted with its features and layout. Identify the various skin sections, such as the head, torso, arms, and legs. Minecraft skins have a limited amount of pixels, thus it’s critical to grasp the skin’s restrictions and constraints.
Step 3: Choose a Lighting Source
Shading Minecraft skins is all about creating the sense of depth and three-dimensionality. To do so, select a light source and visualize how it will interact with the various areas of the skin. If the light is coming from above, for example, the top of the head and shoulders will be brighter than the bottom of the feet.
Step 4: Add Shadows
With your light source in mind, begin applying shadows to your skin. To generate shadows on sections that are not facing the light source, use a darker shade of the same hue. For example, if the light source is coming from above, shadows will appear on the bottom of the chin, neck, and arms.
Step 5: Combine the Shadows
When you’ve applied shadows to your skin, soften the edges with a blending tool to make the shadows seem more realistic. Depending on the program you’re using to alter the skin, the blending tool might be a soft brush or a smudge tool.
Step 6: Provide Highlights
Lastly, use highlights to add depth and texture to your skin. Highlight the sections that face the light source with a lighter shade of the same hue. For example, if the light source is coming from above, highlights will appear on the top of the head, shoulders, and arms.
Step 7: Download and Apply the Skin
Save your colored Minecraft skin as a PNG file and post it to Minecraft.net or any other platform where you apply skins to your character. Install the skin and check out your character in-game to see how the shading appears in various lighting situations.
To summarize, shading Minecraft skins is a creative and entertaining approach to give depth and realism to your character’s appearance. You can make your Minecraft skin appear more polished and professional by selecting a light source, adding shadows and highlights, and utilizing blending tools to create a seamless effect. Have fun colouring your skin!